Integrations
ConnectWise PSA

Connecting INFIMA to your ConnectWise PSA tenant ensures your user counts are always up to date with daily overnight syncs. Follow the steps below to complete the integration.
Overview
The integration creates the following:
- Security Role for API Access
- API User for API Access
The following fields can all be modified in ConnectWise without impacting the integration:
- Descriptions
- Names
- Prices
- Costs
- All other fields for the Agreement, Company, created Addition and Product
Warning
Deleting the Product, Agreement, or Addition may break the integration.
Adding INFIMA to ConnectWise
Creating a Security Role
The first step to integrating INFIMA with ConnectWise PSA is to create the API User that INFIMA will use to make API calls to your ConnectWise PSA instance.
- Log in to ConnectWise PSA.
- From the ConnectWise client select System > Security Roles.
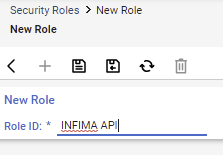
- Add a new Security Role by clicking the "+" key and call it "INFIMA API". Save the new Security Role.
- Click the down arrows besides the Companies, Finance, and Procurement headings to expand each section.
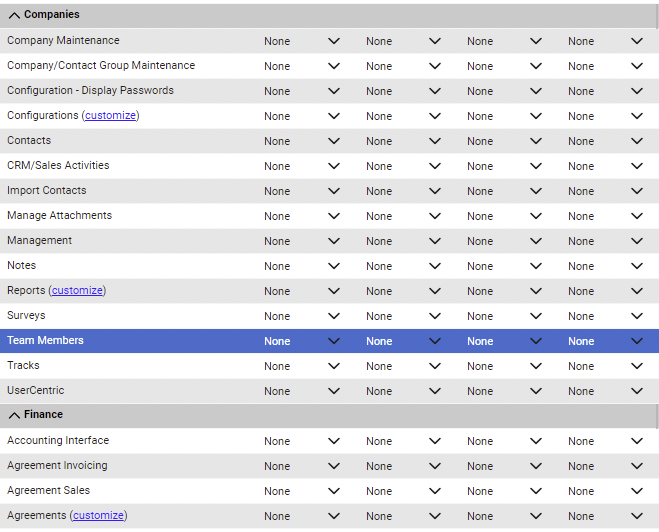
- In each section, modify the values as shown in the table below.
| Companies | Add Level | Edit Level | Delete Level | Inquire Level |
|---|---|---|---|---|
| Company Maintenance | None | None | None | All |
| Finance | Add Level | Edit Level | Delete Level | Inquire Level |
| Agreements (customize) | All | All | None | All |
| Procurement | Add Level | Edit Level | Delete Level | Inquire Level |
| Product Catalog | All | None | None | All |
Usage Note
Agreements can be set more granular than ALL Agreements by clicking "customize" and limiting permissions to only relevant Agreements. The downside is this will have to be updated each time a new Agreement is added.
- Save your new role.
Create an API Member account
- From the ConnectWise client select System > Members.
- Select API Members from the top panel.

- Click the "+" key to create a new API Member.
- Complete every section that is denoted by an asterisk (*).
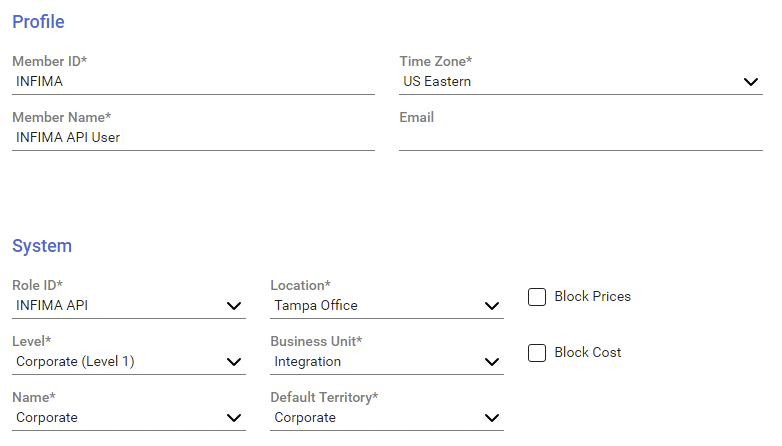
- Save your new user.
Generating keys for the API Member account
- Select API Keys from the top of the pane. Make sure your new member is still selected.

- Click the "+" to generate a new API Key.
- Enter in the description, we recommend INFIMA API Key.

- Create your Public and Private keys by clicking the Save icon.
- Your keys have been created. You will need these for the next steps, be sure to copy them or stay on this page in ConnectWise.

Finalizing the Integration in INFIMA
Complete your INFIMA - ConnectWise PSA sync by adding the API Member connection details into your INFIMA dashboard.
Save ConnectWise Connection Details
Store the details for the API Member account that was created in ConnectWise.
- Login to the INFIMA Dashboard.
- Select Partner Menu > Settings from the Navigation Panel.
- Under Integrations, select ConnectWise PSA.
- Add your connection details to the form and Save.
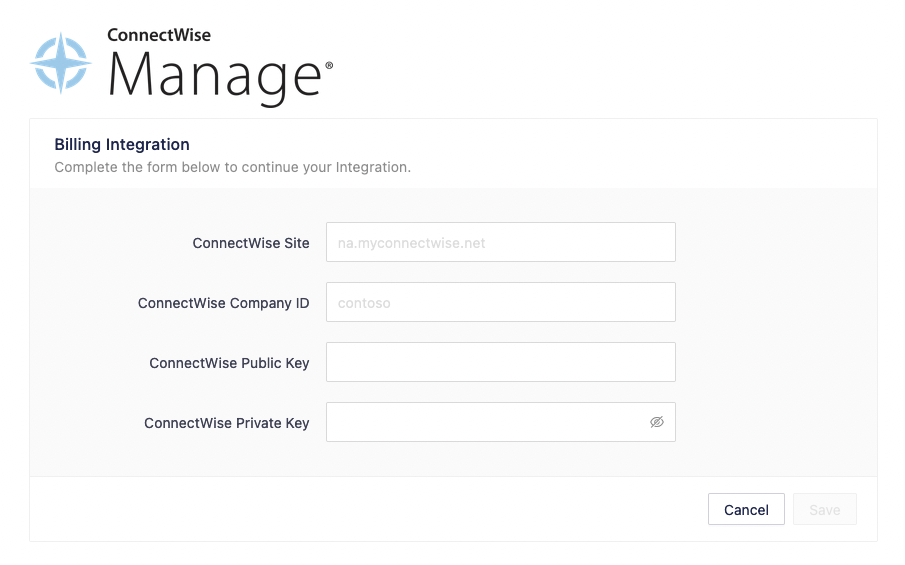
Select a ConnectWise Product
Usage Note
Make sure you have created an Item in the ConnectWise Product Catalog to associate with INFIMA.
- After saving your connection details successfully, you will be prompted to select a Product Catalog item.
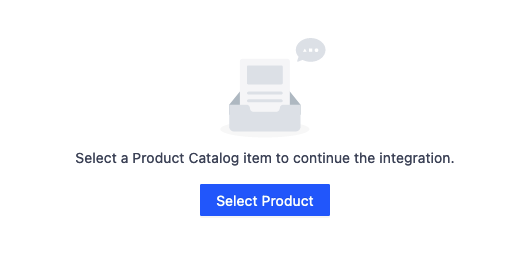
- Click Select Product to begin.
- Use the search field to search for the Product Catalog Item you want to associate to INFIMA Services.
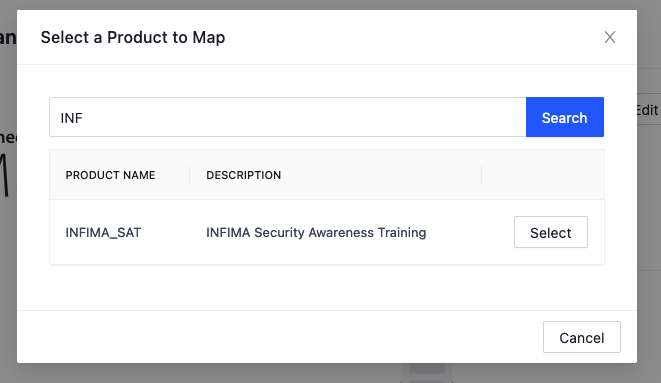
- Select the product to save the association.
Map INFIMA Companies to ConnectWise Agreements
Usage Note
Before starting, make sure you have an Agreement and Addition (that is associated with the Product Catalog item selected above) created for each client.
- Find the INFIMA Client you want to associate and click the "+" to start the association.
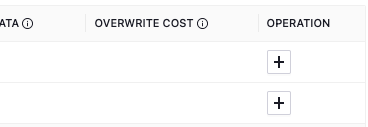
- Click Edit Client Association to choose a Client.
- Search for a client in the search bar. When you have found the client, click Select to save the mapping.
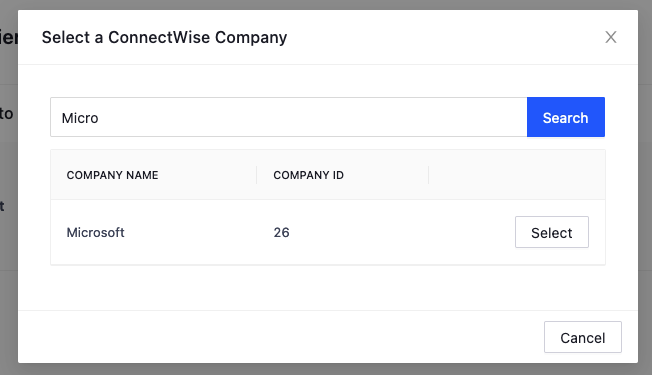
- Click Edit Agreement Association. Select the correct Agreement from the list.
- Click Edit Addition Association. Select the correct Addition from the list.
- If you are satisfied with the mapping, click Save to store the association of Client to Addition.
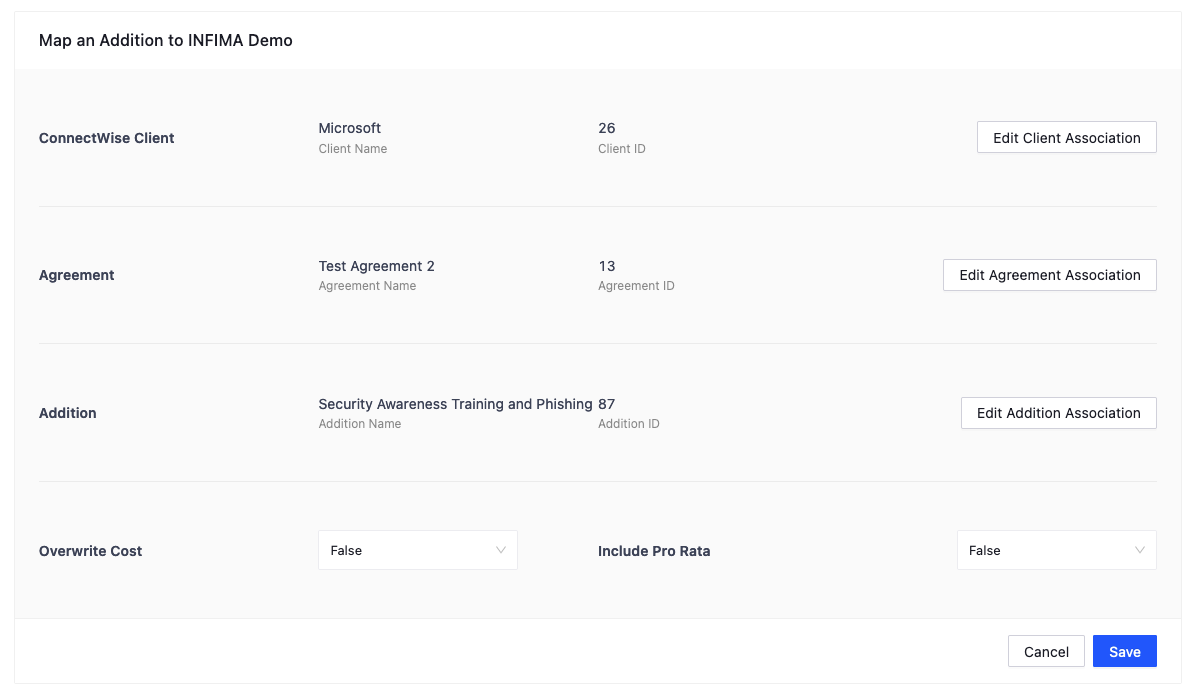
- The dashboard will update to show the association has been saved.

- The Addition will be updated when the sync process runs overnight. The Last Sync Date field will be updated to show the last date of successful sync.
Success!
The Integration is now complete. Syncs occur nightly and update the current active user count for each INFIMA client.
Sync Considerations
Including Pro Rata
Overview
When users are added to a client mid month, they incur a cost proportional to the length of time remaining in the month they were added. Since we invoice on the first of the month, we calculate pro rata based on NET additions added over that month.
Pro Rata Example
A partner has a client that started January with 1000 users. During the month 30 users leave the company on Jan 10th and 50 users are added on Jan 15th. Pro rata would be added based on the NET addition of 20 users.
In ConnectWise PSA, the partner would see a new addition created with a start date of Jan 15th and an end date of Jan 31st.
Enabling Pro Rata
Warning
For ConnectWise to prorate price and cost, Prorate Agreement must be checked on the Agreement under Recurring Invoicing Parameters.
- In your INFIMA dashboard, click Edit for the client you want to enable prorating.
- Under the column Include Pro Rata, select True from the drop down.
- Click Save.
Pro Rata Addition Details
- Unit Cost and Unit Price values are copied from the primary addition, saving partners the time of having to update these values manually.
- The invoice description is Security Awareness Training New Users.
- Because the Addition has a Cancelled Date set to the end of the previous month, ConnectWise automatically remove this addition after the current month invoice.
Overwrite Cost
Overview
If this is enabled in the dashboard, when user counts are synced to the agreement, the unit cost value will also be updated.
Enabling Overwriting Cost
- In your INFIMA dashboard, click Edit for the client you want to enable overwriting cost.
- Under the column Overwrite Cost, select True from the drop down.
- Click Save.