Introduction
Adding Users
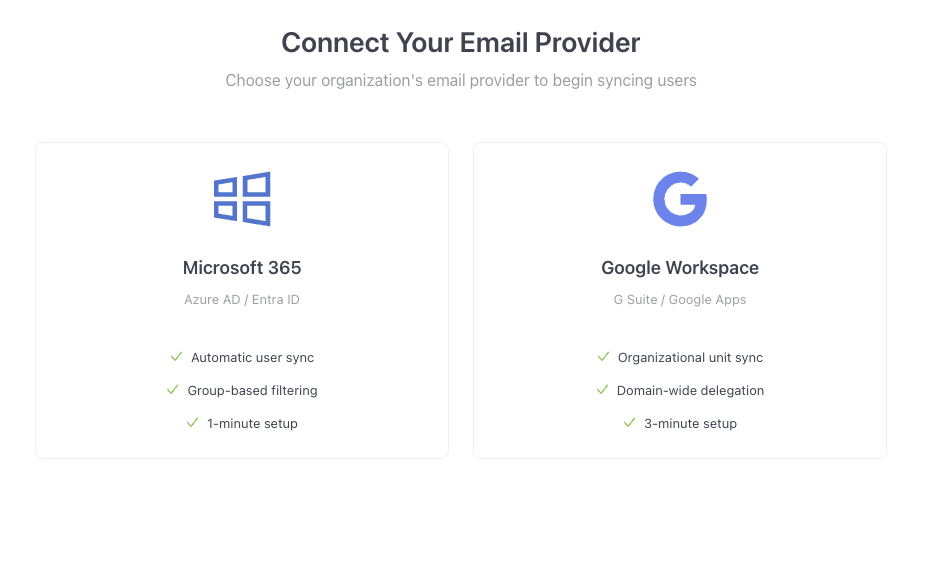
Adding Users via O365
Adding users through Microsoft O365 is the most common and straightforward method for integrating users into the INFIMA platform. This approach is preferred by many organizations due to its simplicity and efficiency.
Syncing Options for O365 Integration
When integrating users from Microsoft O365, you have two primary options for syncing:
Sync All Users
- This option automatically includes all active O365 users in your organization.
- Ideal for companies that want comprehensive coverage across their entire workforce.
Sync Users via Groups
- Allows you to select specific O365 groups for synchronization.
- Provides more granular control over which users are added to the INFIMA platform.
- Useful for organizations that want to target specific departments or teams for security awareness training.
- See detailed instructions: O365 Groups Sync
Both methods offer automatic synchronization, ensuring your user data remains up-to-date with minimal manual intervention. Choose the option that best aligns with your organization's structure and security awareness training goals.
Follow the steps below to begin the O365 user sync process with INFIMA:
Sync All Users with Microsoft O365
Select to sync with Microsoft O365 and click "Sync All Users".
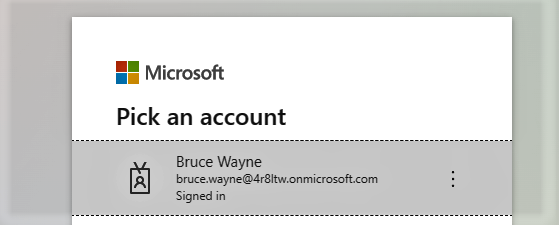
Enter the admin credentials required for syncing.
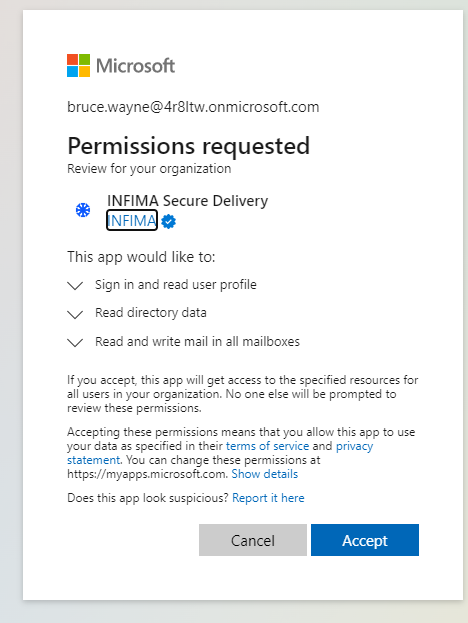
- Accept the permissions requested to complete the sync process.
- Once permissions are accepted, you will see a confirmation that the approval was successful.
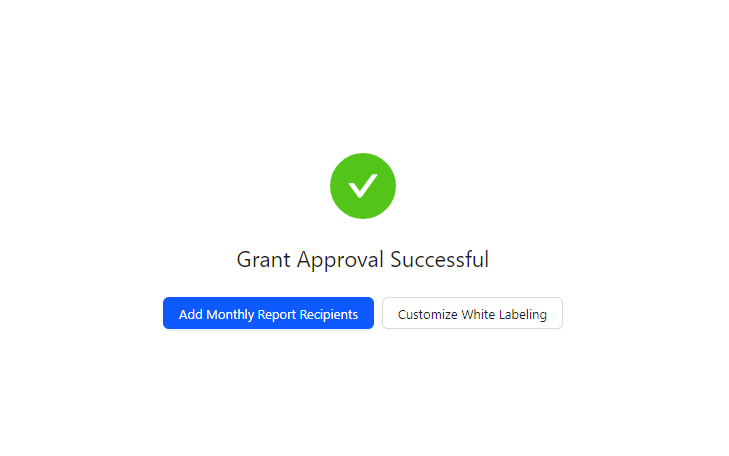
Success!
With your grant approval successful, adding users is now complete. Your users will be synced automatically to INFIMA.
- After the sync is complete, remember to review the user list and deactivate any unnecessary users, such as service accounts or shared mailboxes, to ensure accuracy and cost efficiency.
Adding Users via Google Workspace
Syncing users with Google Workspace allows for seamless integration of your organization's user base with INFIMA's security awareness training platform. This process ensures that all relevant employees are included in the training program while maintaining up-to-date user information.
Important!
Before beginning the sync process, it's crucial to complete the Domain Wide Delegation setup for your Google Workspace account. This step is essential as it grants INFIMA the necessary permissions to access and sync user data securely.
Completing the Domain Wide Delegation first ensures a smooth and uninterrupted synchronization process, enabling INFIMA to effectively manage user accounts and deliver security awareness training to your organization.
Domain Wide Delegation
- Navigate to admin.google.com and login to Google Workspace.
- Select Security > Access and data control > API Controls.
- Under Domain wide delegation, select Manage Domain Wide Delegation.

- Next to API clients, select Add new.

- Copy the number below, which uniquely identifies the INFIMA API, as the client ID.
Client ID
105239018523099741746
- Add the number to Add a new Client ID.
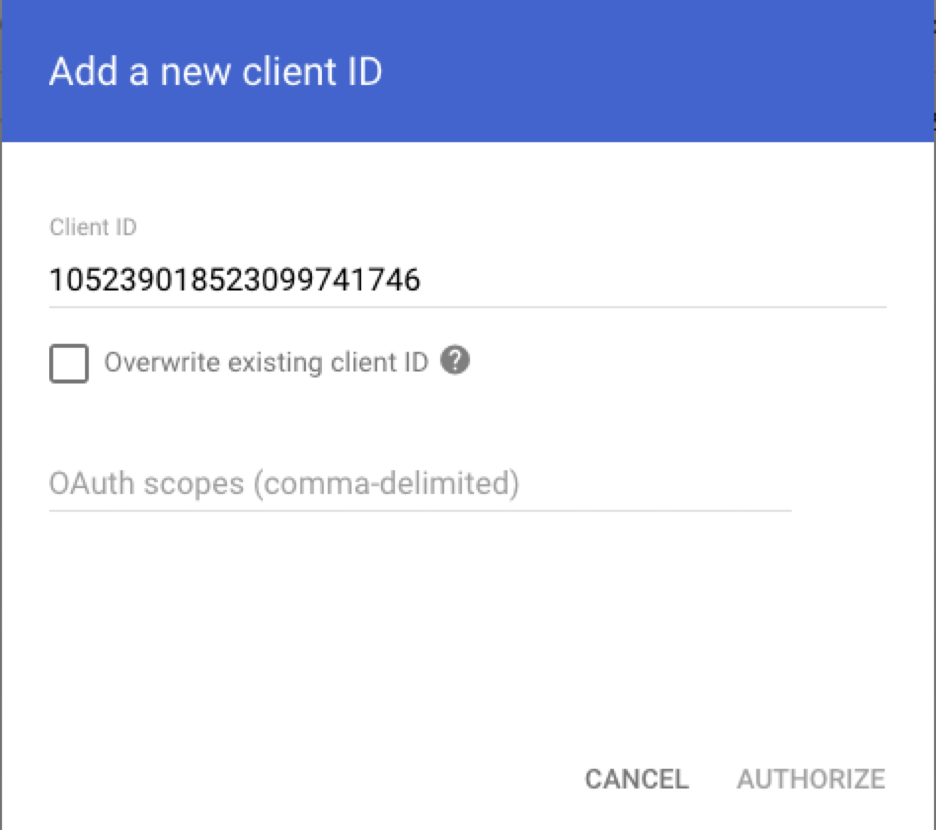
- Add the scopes below to the OAuth scopes section.
OAuth Scopes
https://mail.google.com/
https://www.googleapis.com/auth/gmail.insert
https://www.googleapis.com/auth/gmail.modify https://www.googleapis.com/auth/admin.directory.user.readonly https://www.googleapis.com/auth/admin.directory.group.readonly https://www.googleapis.com/auth/admin.directory.orgunit.readonly
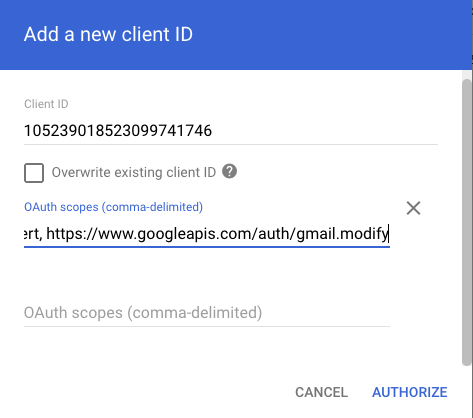
- Click Authorize to complete the process.
Syncing Users
- From the INFIMA dashboard, select "Add Users" for the client you wish to update.
- Choose the "Google Workspace" option from the sync methods.
- Click "Domain Wide Delegation Complete".
- Click "Start Sync Process".
- Sign in with your Google Workspace admin account when prompted.
- Review and accept the permissions requested by INFIMA to access your Google Workspace data.
- After granting permissions, you can choose to:
- Sync Users Now - Sync all users from your domain
- Sync by OUs - Select specific Organizational Units (see Google OU Sync)
- Sync by Groups - Select specific Google Groups (see Google Groups Sync)
Success!
With your grant approval successful, adding users is now complete. Your users will be synced automatically to INFIMA.
- After the sync is complete, remember to review the user list and deactivate any unnecessary users, such as service accounts or shared mailboxes, to ensure accuracy and cost efficiency.
Adding Users Manually
If the client does not use either O365 or Google, you can manually add users:
- Select “Users” in the top left.
- Choose “Manual Users” from the left column.
- Bulk import users using a CSV file or add users one by one.

Email Whitelisting
To ensure smooth delivery of INFIMA's security awareness training emails and avoid potential filtering issues, it's important to whitelist our sending IP addresses and safe sender email in your mail protection system.
Overview
Whitelisting involves adding specific IP addresses and email addresses to an approved list in your email security settings. This process tells your email system to trust communications from these sources, reducing the likelihood of important training emails being marked as spam or blocked entirely.
Instructions
Access Your Email Security Settings:
- Log into your email server's administration panel or your email security gateway.
- Look for options like "IP Allow List", "Whitelist", or "Safe Senders".
Add INFIMA IP Addresses:
- Add the following IP addresses to your whitelist:
- 54.240.43.212
- 34.232.212.184
- Add the following IP addresses to your whitelist:
Add Safe Sender Email:
- Locate the option to add safe sender emails or domains.
- Add the following email address: bounce@infimasec.com
Save Changes:
- After adding the IP addresses and safe sender email, save your changes.
Test the Whitelist:
- If possible, send a test email from INFIMA to ensure it's properly received.
Note
The exact steps for whitelisting may vary depending on your email system. If you're unsure about the process, consult your IT department or email system documentation for specific instructions.
By completing these steps, you'll help ensure that all INFIMA training emails reach your users' inboxes, maximizing the effectiveness of your security awareness program.
Deactivate Unnecessary Users
After syncing users from O365 or Google Workspace, it's important to review the user list and deactivate any unnecessary accounts.
Why Deactivate Unnecessary Users?
- Cost Efficiency: Ensures you're not paying for licenses or resources for inactive or irrelevant users.
- Data Accuracy: Keeps your user metrics and reporting accurate, reflecting only the active user base.
Steps to Deactivate Unnecessary Users
Review User List: After syncing, go to the "Users" section in your INFIMA dashboard.
Identify Unnecessary Users: Look for users who should not be part of the training program, such as:
- Service accounts or shared mailboxes
- Any other accounts that don't require security awareness training
Deactivate Users:
- Select the checkbox next to each unnecessary user
- Click on the "Deactivate" button
- Confirm the action when prompted
Note
Deactivated users are not deleted from the system but are marked as inactive. They will not participate in the training program and will not incur any charges.