Add your first client
Onboarding is built to take three clicks total: create the client, kick off the directory sync, approve consent. That’s it — your customer is up and running.
This article is click one.
You’ll need
Section titled “You’ll need”- The client’s company name.
That’s the entire prerequisite.
Walkthrough
Section titled “Walkthrough”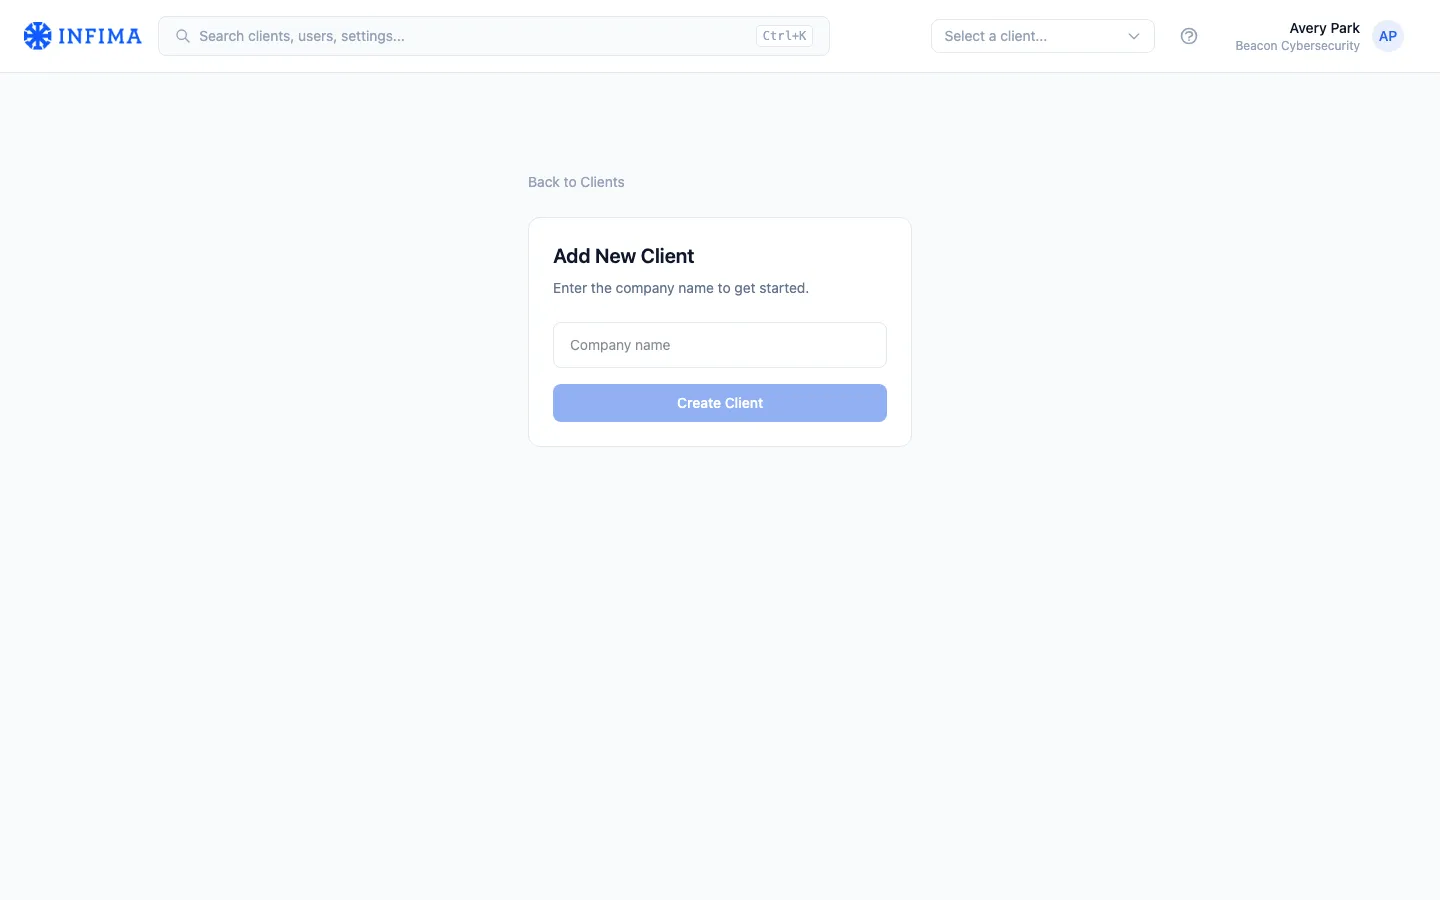
-
Open the Add Client form. From your dashboard, click Add Client — either the card on your home page or the Add Client entry in the partner dropdown at the top right.
-
Name the client and create. Type the company name and click Create Client. (This is click one of three.)
-
You land on the People page in onboarding mode. Click two and three happen here — see Sync users.
You’ll know it worked when
Section titled “You’ll know it worked when”- The new client shows up in your Clients list with the name you typed.
- Opening the client lands on the tenant view with the same name in the top nav.
Frequently asked
Section titled “Frequently asked”I created the client but had to step away. Where do I pick up? The client is already saved. Open them from your Clients list and pick up at Sync users.
Can I change the client name later? Yes — it’s editable in Tailor under branding. The URL slug is generated at creation time and is stable after that.
Related
Section titled “Related”- Sync users — clicks two and three.